Preparing Bathroom Walls for Wall Panels
There are many reasons behind the recent surge in popularity of bathroom wall panels; high among these is the ease of installation. More straightforward to apply than ceramic tiles, you might be surprised at just how quickly you can achieve a stunning bathroom transformation. Before you begin with the installation, however, be sure to know exactly how to prepare your bathroom walls to make sure you achieve professional results.
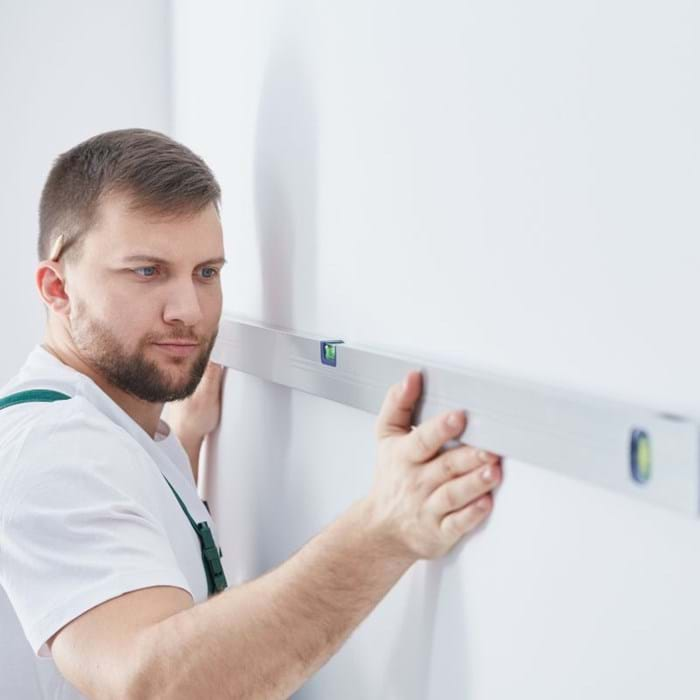
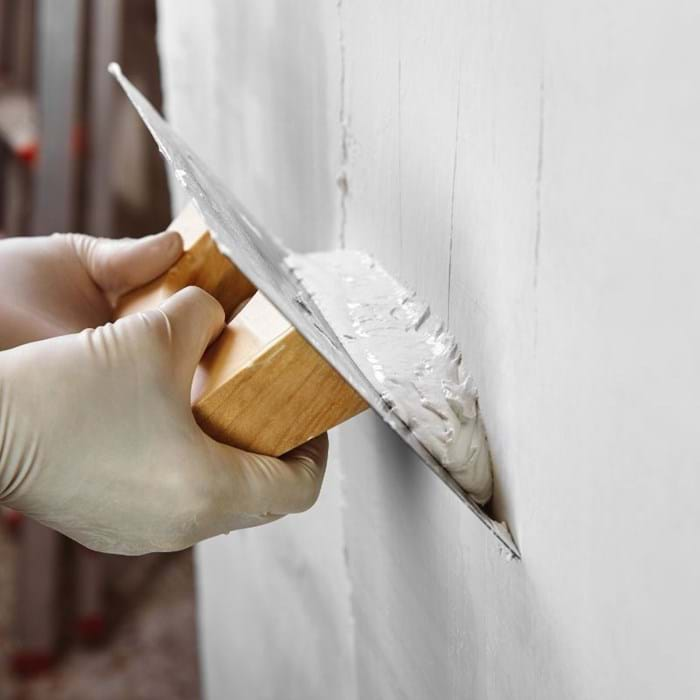
First check that your walls are dry, flat and even – and free from dirt and grease. If necessary, flatten high spots and fill in low spots and remove anything such as wallpaper or loose paint that could interfere with a good, strong adhesive bond.

With Multipanel bathroom panels the precisely engineered Hydrolock® tongue and groove joining system not only provides a watertight and virtually seamless join, it can also cope when walls are not completely level. The innovative Hydrolock design means that your panels will still click effortlessly into place even with a bow in wall of up to 6mm. Without the need for profiles when joining adjacent wall panels together a beautiful, continuous wall can be achieved.
Fitting Bathroom Wall Panels to Uneven Walls
The older your home is the more likely it is that your walls will be less than even. Fitting shower panels directly onto uneven walls will affect the quality of the panel joints and could result in the adhesive not making sufficient contact when the panels are installed. So rather than worrying about panels being out of plumb with your existing walls, you need to ensure that the panels themselves are plumb.
Uneven surfaces can of course be levelled by re-plastering – this will however add to the time and cost of completing the job. If the wall is very uneven you may need to have a batten frame built over the uneven wall to create a level surface for your new panelling.

Assuming that you can afford to reduce the dimensions of the room, the use of battens will not only make the installation of the bathroom wall panels an easier task, they can also have the benefit of providing space to allow the concealment of pipework that might detract from the aesthetic of your bathroom revamp.
Having checked that your walls can support a firm screw hold, you should ensure there is a vertical batten under every panel join. In those areas where heavy items such as a hung basin or toilet are to be attached to the wall through the panels, extra battens must be installed to provide additional support.
Fitting Shower Wall Panels on Top of Tiles
In many older bathrooms the walls may be half-tiled with the tiles bedded in cement. As these can be difficult to remove, it may be simpler to leave them in place and batten out the wall above so that it is plumb with the surface of the tiles. The profiles and shower wall panels can then be stuck onto the tiled area using high grab adhesive and pinned to the battens above.
If you have had to fit battens to the area because your surface was not level, profiles and panels can be secured directly onto the battens using hard fixings such as screws rather than high-grab adhesive.
Wall panels then, can be the perfect solution for your bathroom upgrade, even if your walls are less than perfect. By getting the preparation right you can soon have a beautiful and durable bathroom wall covering that will look good for years to come.
Please note: Full installation guidelines, supplied with the product, should be referred to prior to installation.


